Handy Password Manager Screenshots
Handy Password Toolbar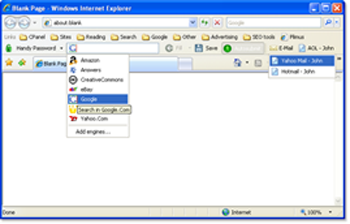 |
1. This is a Handy Password IE Toolbar. It gives you the opportunity to login automatically to different web-services. Click image for larger view |
Bookmarks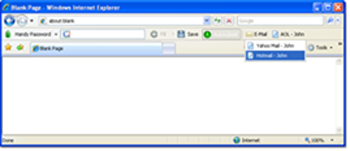 |
2. This screenshot shows you Bookmarks, saved by Handy Password bookmark manager on IE toolbar. Click image for larger view |
Context Menu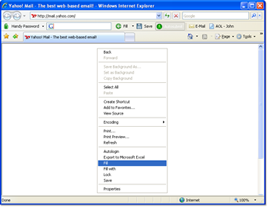 |
3. This screenshot shows you, how to operate with Handy Password features through Context Menu. Click image for larger view |
Menu Firefox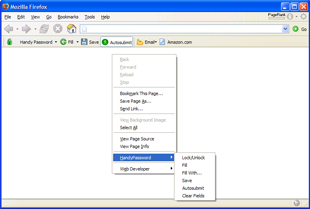 |
4. This screenshot shows you the new feature of Handy Password Manager: now you can clean the form fields through the Firefox Context Menu, if they were filled with incorrect info. Click image for larger view |
"Fill" Option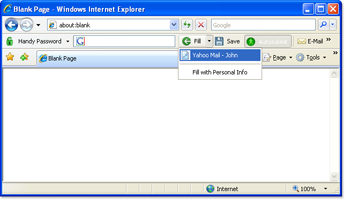 |
5. Screenshot of the "Fill" option on IE8 toolbar shows you how to fill web forms with Handy Password. Click image for larger view |
"Save Card" Option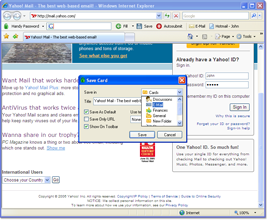 |
6. Here you can see how to save passwords, logins and different personal info from the web form on site. Click image for larger view |
System Tray Context Menu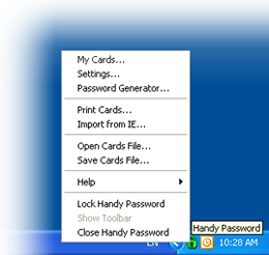 |
7. This screenshot shows how to launch password keeper from the System Tray, and how to access to Handy Password features through the System Tray Context Menu. Click image for larger view |
Program Main Window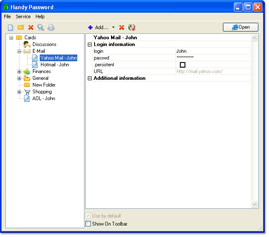 |
8. Handy Password Main Window. Through this window you can operate all secure password manager features and manage your cards. Click image for larger view |
Authorization Form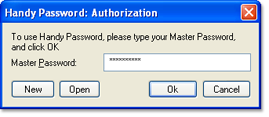 |
9. An Authorization form. You need to enter the Master Password to access to your data. Click image for larger view |
New Card Wizard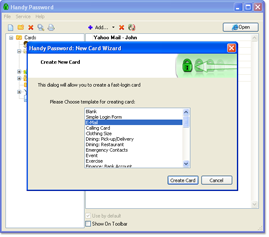 |
10. The "New Card Wizard" dialog window opens from Main Window when you want to create some card with personal info. Click image for larger view |
Simple Login Form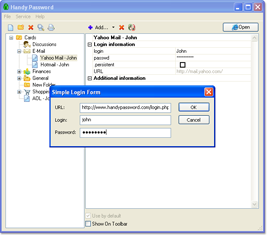 |
11. Here you can create the simpliest card for autologin. Click image for larger view |
New E-mail Wizard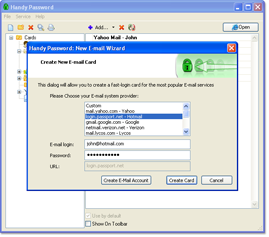 |
12. After choosing from "New Card Wizard" the "E-mail" type of card, this dialog window will open and allows you to enter your login info to a new card. Click image for larger view |
New E-mail Card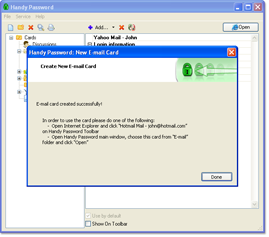 |
13. When you finish entering information to new card and press "Create card" button, this dialog window will appear and notice you, that the new card had been created successfully. Click image for larger view |
Add Template Fields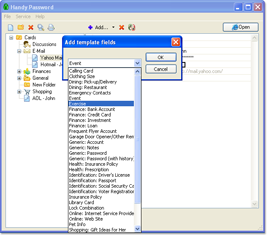 |
14. In this dialog window you can add special fields to your card, such as bank account, credit card, clothing size and so on. Click image for larger view |
Security Settings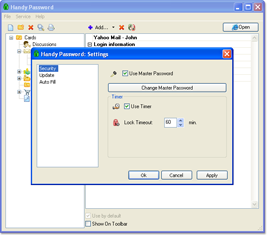 |
15. This window allows you to change Handy Password security options, such as Master Password and auto-lock timer. Click image for larger view |
Change Master Password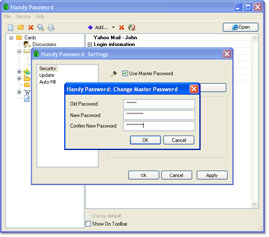 |
16. If you want to change Master Password from Security Settings, this dialog window will appear. Click image for larger view |
Update Settings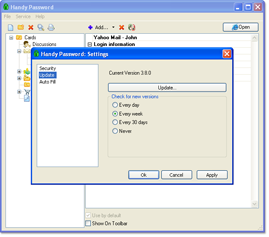 |
17. An Update Settings window. Here you can adjust, how often program would check for updates. Click image for larger view |
Autofill Settings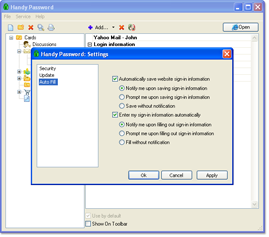 |
18. Autofill Settings allows you to set up autosave and autofill options. Click image for larger view |
Personal Info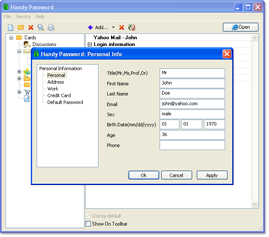 |
19. Personal Info dialog window. Here you can enter your personal info (such as name, sex, birth date, etc.) to let Handy Password fill web-forms with it. Click image for larger view |
Password Generator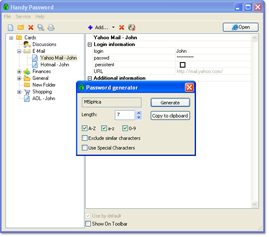 |
20. Random password Generator allows to create random passwords just by clicking "Generate". Click image for larger view |
Find Dialog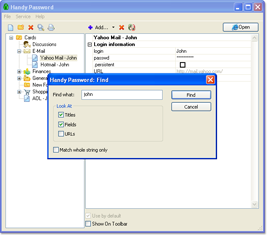 |
21. The Find dialog window allows to find any info in your cards. Click image for larger view |
Print Cards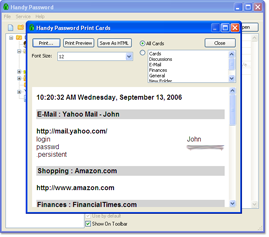 |
22. Trough this dialog window you can print your cards. Click image for larger view |
Registration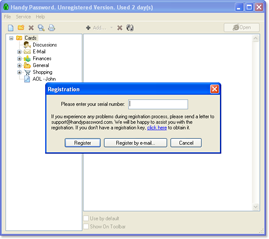 |
23. You can register you password manager software by entering the serial number into this dialog window. Click image for larger view |
 |  |  |


